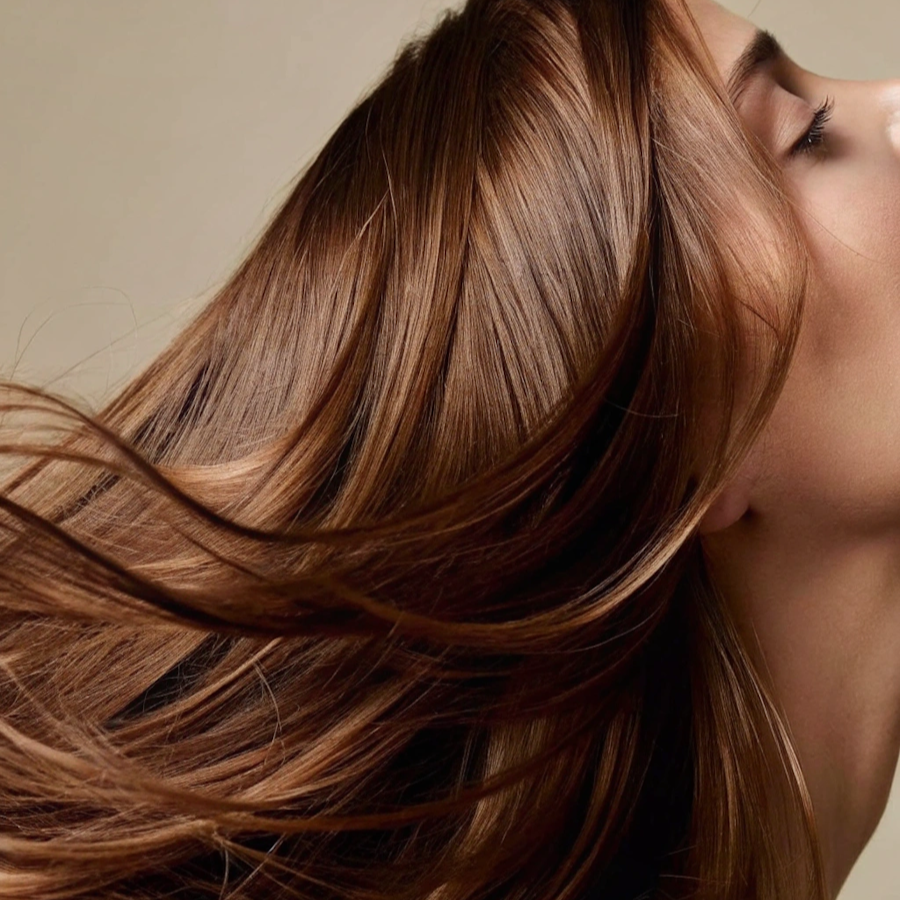
How to Achieve Salon-Quality Shine with an At‑Home Hair Gloss Treatment
Getting shiny, healthy-looking hair at home might sound tricky, but an at‑home hair gloss treatment can actually make it pretty simple. If you’re tired of dull hair or just want to stretch out the time between salon visits, glossing is a great option. Whether your hair is color-treated or natural, learning how to use a gloss at home can help you get that smooth, light-catching finish without spending a fortune. Here’s what you need to know before getting started.
Key Takeaways
-
An at‑home hair gloss treatment can boost shine and smoothness for all hair types, not just color-treated hair.
-
Glossing at home is usually less intense and shorter-lasting than salon treatments, but it’s easy, affordable, and great for regular upkeep.
-
Choose a gloss that matches your needs—clear formulas add shine, while tinted options can refresh or tone your color.
-
Prep and section your hair before applying gloss for the most even, salon-like results.
-
For best results, repeat your gloss treatment every 4-6 weeks and use gentle, shine-protecting products between treatments.
Understanding At‑Home Hair Gloss Treatment
What Is a Hair Gloss and How Does It Work?
A hair gloss is a demi-permanent treatment you can apply at home, designed to give your hair a reflective, light-catching shine. The gloss coats the surface of each strand, helping to boost vibrancy and leave hair smoother. Glosses can also deposit a subtle wash of color or just amp up the shine on your natural hair. Many formulas have added oils or proteins for a softer, healthier feel. Treatments like these are popular for refreshing dull color, evening out tones, or just giving your hair a boost without committing to a full dye job. For a more detailed explanation of how glossing works to enhance shine, check out demi-permanent treatment details.
-
Adds a glossy finish that makes hair look healthier
-
Tames frizz and helps manage flyaway strands
-
Can reduce color fade for colored-treated hair
-
Often includes conditioning ingredients for added smoothness
Even if your hair feels dry or flat, a gloss can make a noticeable difference in just one session, giving you that "just left the salon" look at home.
Types of At‑Home Hair Gloss Treatments
At-home hair gloss products have multiplied in recent years. You’ll find glosses in two main forms:
-
Clear gloss: For shine and smoothness, no color added
-
Tinted gloss: Subtle color boost or tone correction, plus shine
Some are creams, others are liquid solutions. Some need to be mixed just before use, while others come ready-to-use in bottles.
|
Type |
Best For |
|---|---|
|
Clear Gloss |
Natural shine, non-color treated |
|
Tinted Gloss |
Refreshing faded color |
|
Conditioning |
Extra moisture + shine |
Key Differences Between At‑Home and Salon Gloss
There are a few things to keep in mind when comparing salon vs. at-home gloss treatments:
-
Strength & Ingredients: Salons use more potent products and might add custom color mixes for your specific shade and hair needs.
-
Duration: Salon results usually last 6-8 weeks, while most at-home treatments last 4-6 weeks before the shine fades.
-
Cost & Convenience: At-home gloss is affordable and easy to use, while salon glosses are more expensive but can be tailored for longer-lasting impact and a richer finish.
-
Skill Required: Salon pros can address trickier issues like banding or uneven tones, while at-home products are formulated for simple, foolproof use.
Honestly, for regular upkeep, at-home gloss offers a budget-friendly way to keep hair looking shiny and fresh in between salon visits.
Essential Tools and Products for Glossing at Home
When taking your hair gloss treatment into your own hands, choosing the right products and tools can make a noticeable difference. You don’t need a suitcase full of stuff, but there are a few things you really shouldn’t skip if you want that fresh-from-the-salon gloss look at home.
Best Gloss Formulas to Consider
Picking a hair gloss formula that fits your hair needs is key. Here’s a quick table comparing some of the most popular types, including how long you can expect the shine to last:
|
Gloss Formula Type |
Typical Longevity |
Notable Benefits |
|---|---|---|
|
Conditioning Gloss |
2–4 weeks |
Softens, smooths hair |
|
Color-Depositing |
4–6 weeks |
Revives faded color |
|
Clear Gloss |
3–5 weeks |
Adds shine, no tint |
If you’re not sure what to pick, taking a look at some hairstylist-approved hair glosses is a solid place to start, especially if shine and reviving color are priorities.
Choosing Between Clear and Tinted Glosses
You’ve basically got two choices on the shelf: clear or tinted. Here’s how to think about it:
-
Clear gloss: Perfect if you like your hair color but just want to amp up the shine. Works for both natural and color-treated hair without altering your tint.
-
Tinted gloss: These are ideal for boosting faded dye jobs or adding a subtle color refresh. Always pick a shade close to your current color for the safest results.
-
Ammonia-free formulas are usually gentler, so always double-check the label—especially if you’re wary of harsh smells!
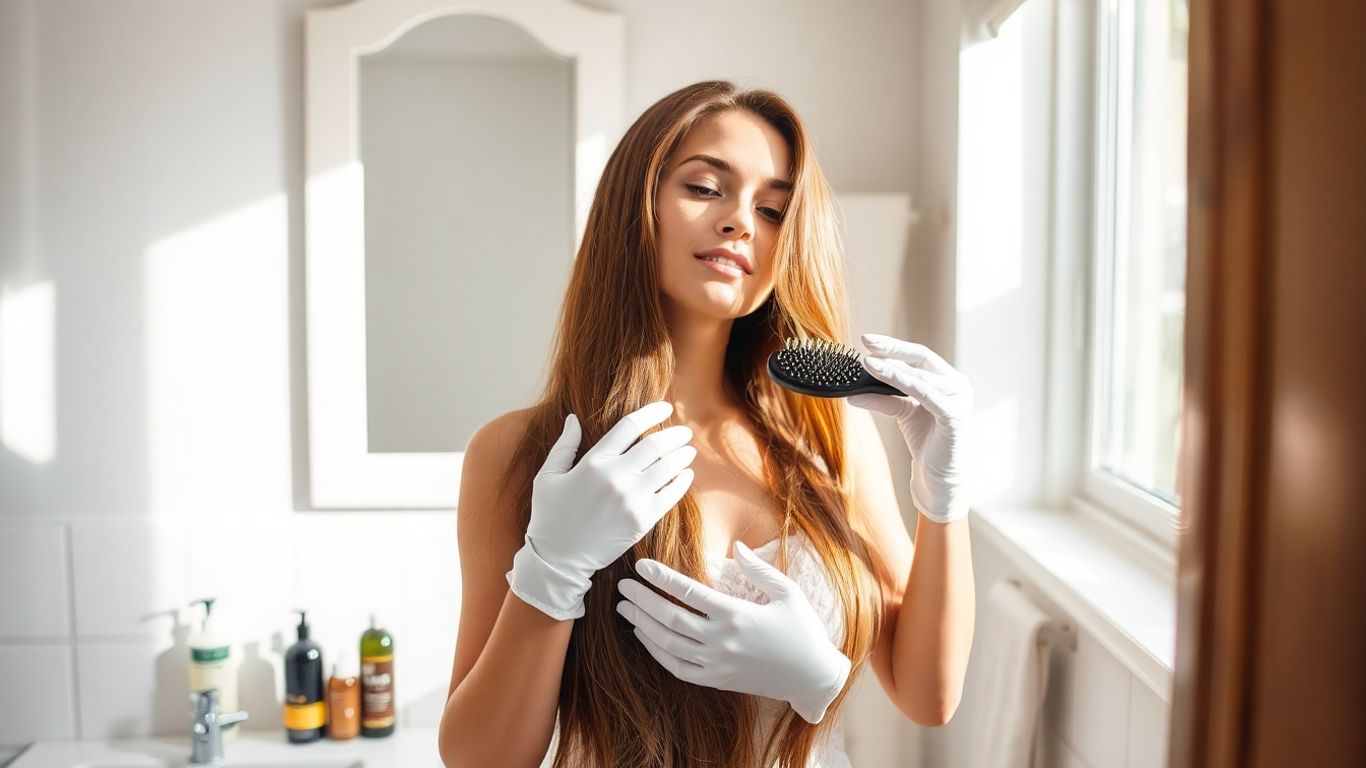
Must-Have Application Tools
Don’t leave yourself scrambling mid-gloss. With a few basics ready, the job’s a lot easier:
-
Tint brush or color applicator: For painting the gloss exactly where you want it.
-
Wide-tooth comb: Helps distribute product smoothly from roots to ends.
-
Gloves: These keep your hands clean (and no one wants stained fingertips).
-
Old t-shirt or towel: Gloss can drip, so protect your clothes and skin.
Setting yourself up with the right tools and products means you can focus on pampering yourself—not on cleaning up a mess. Just lay everything out before you start; you'll thank yourself when things start moving fast.
Step-by-Step Guide to an At‑Home Hair Gloss Treatment
Giving your hair an at-home gloss treatment might sound a little intimidating, but it really can be simple (and even relaxing). With the right techniques and a bit of preparation, you’ll notice glossier, shinier hair after just one session. Here’s what you’ll want to do:
Preparation: Cleaning and Sectioning Hair
Starting with the right base is important. Don't skip this part:
-
Wash your hair the night before. This gives your scalp time to restore some natural oils, which can help protect your skin and hair during the gloss process.
-
Avoid adding products to your hair after washing—no styling creams, serums, or sprays.
-
When you’re ready to gloss, work with dry (or towel-dried), thoroughly detangled hair.
-
Divide your hair into manageable sections (at least four, or more if you have loads of thick hair). Use clips or hair ties to keep things organized.
Taking a few extra minutes to section your hair can help prevent streaks and missed spots during application—so don’t rush!
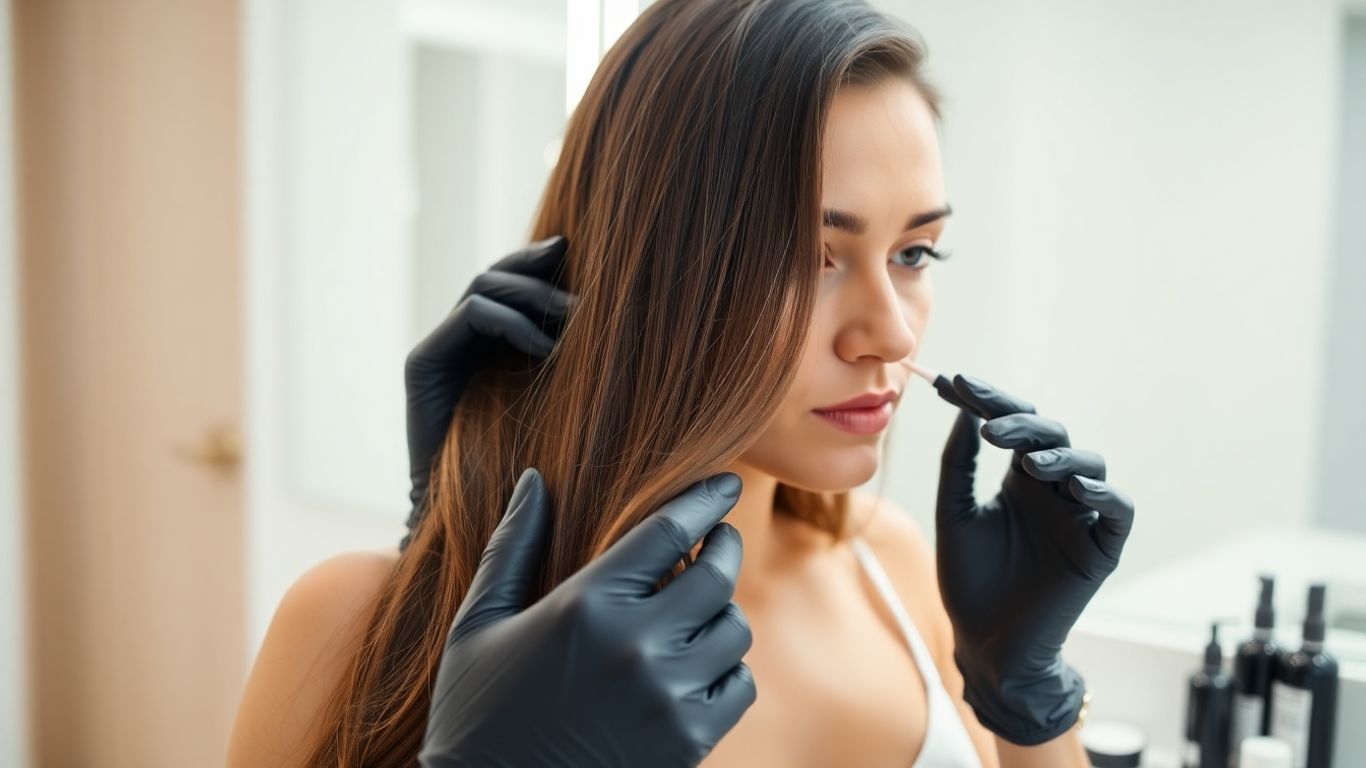
Application Techniques for Even Results
Take your time here for that polished finish:
-
Wear gloves to avoid staining your hands.
-
Work one section at a time, applying the gloss from roots to ends for even coverage.
-
Use a tint brush for more precise application or your hands for quicker, more casual coverage. Focus a bit extra on your ends if they tend to be dry or faded.
-
Once you’ve coated every strand, use a wide-tooth comb to distribute the gloss so it’s not just sitting on the surface.
Check the packaging for specifics, as some products might have unique instructions. At-home glossing is pretty forgiving, but following the directions prevents mistakes.
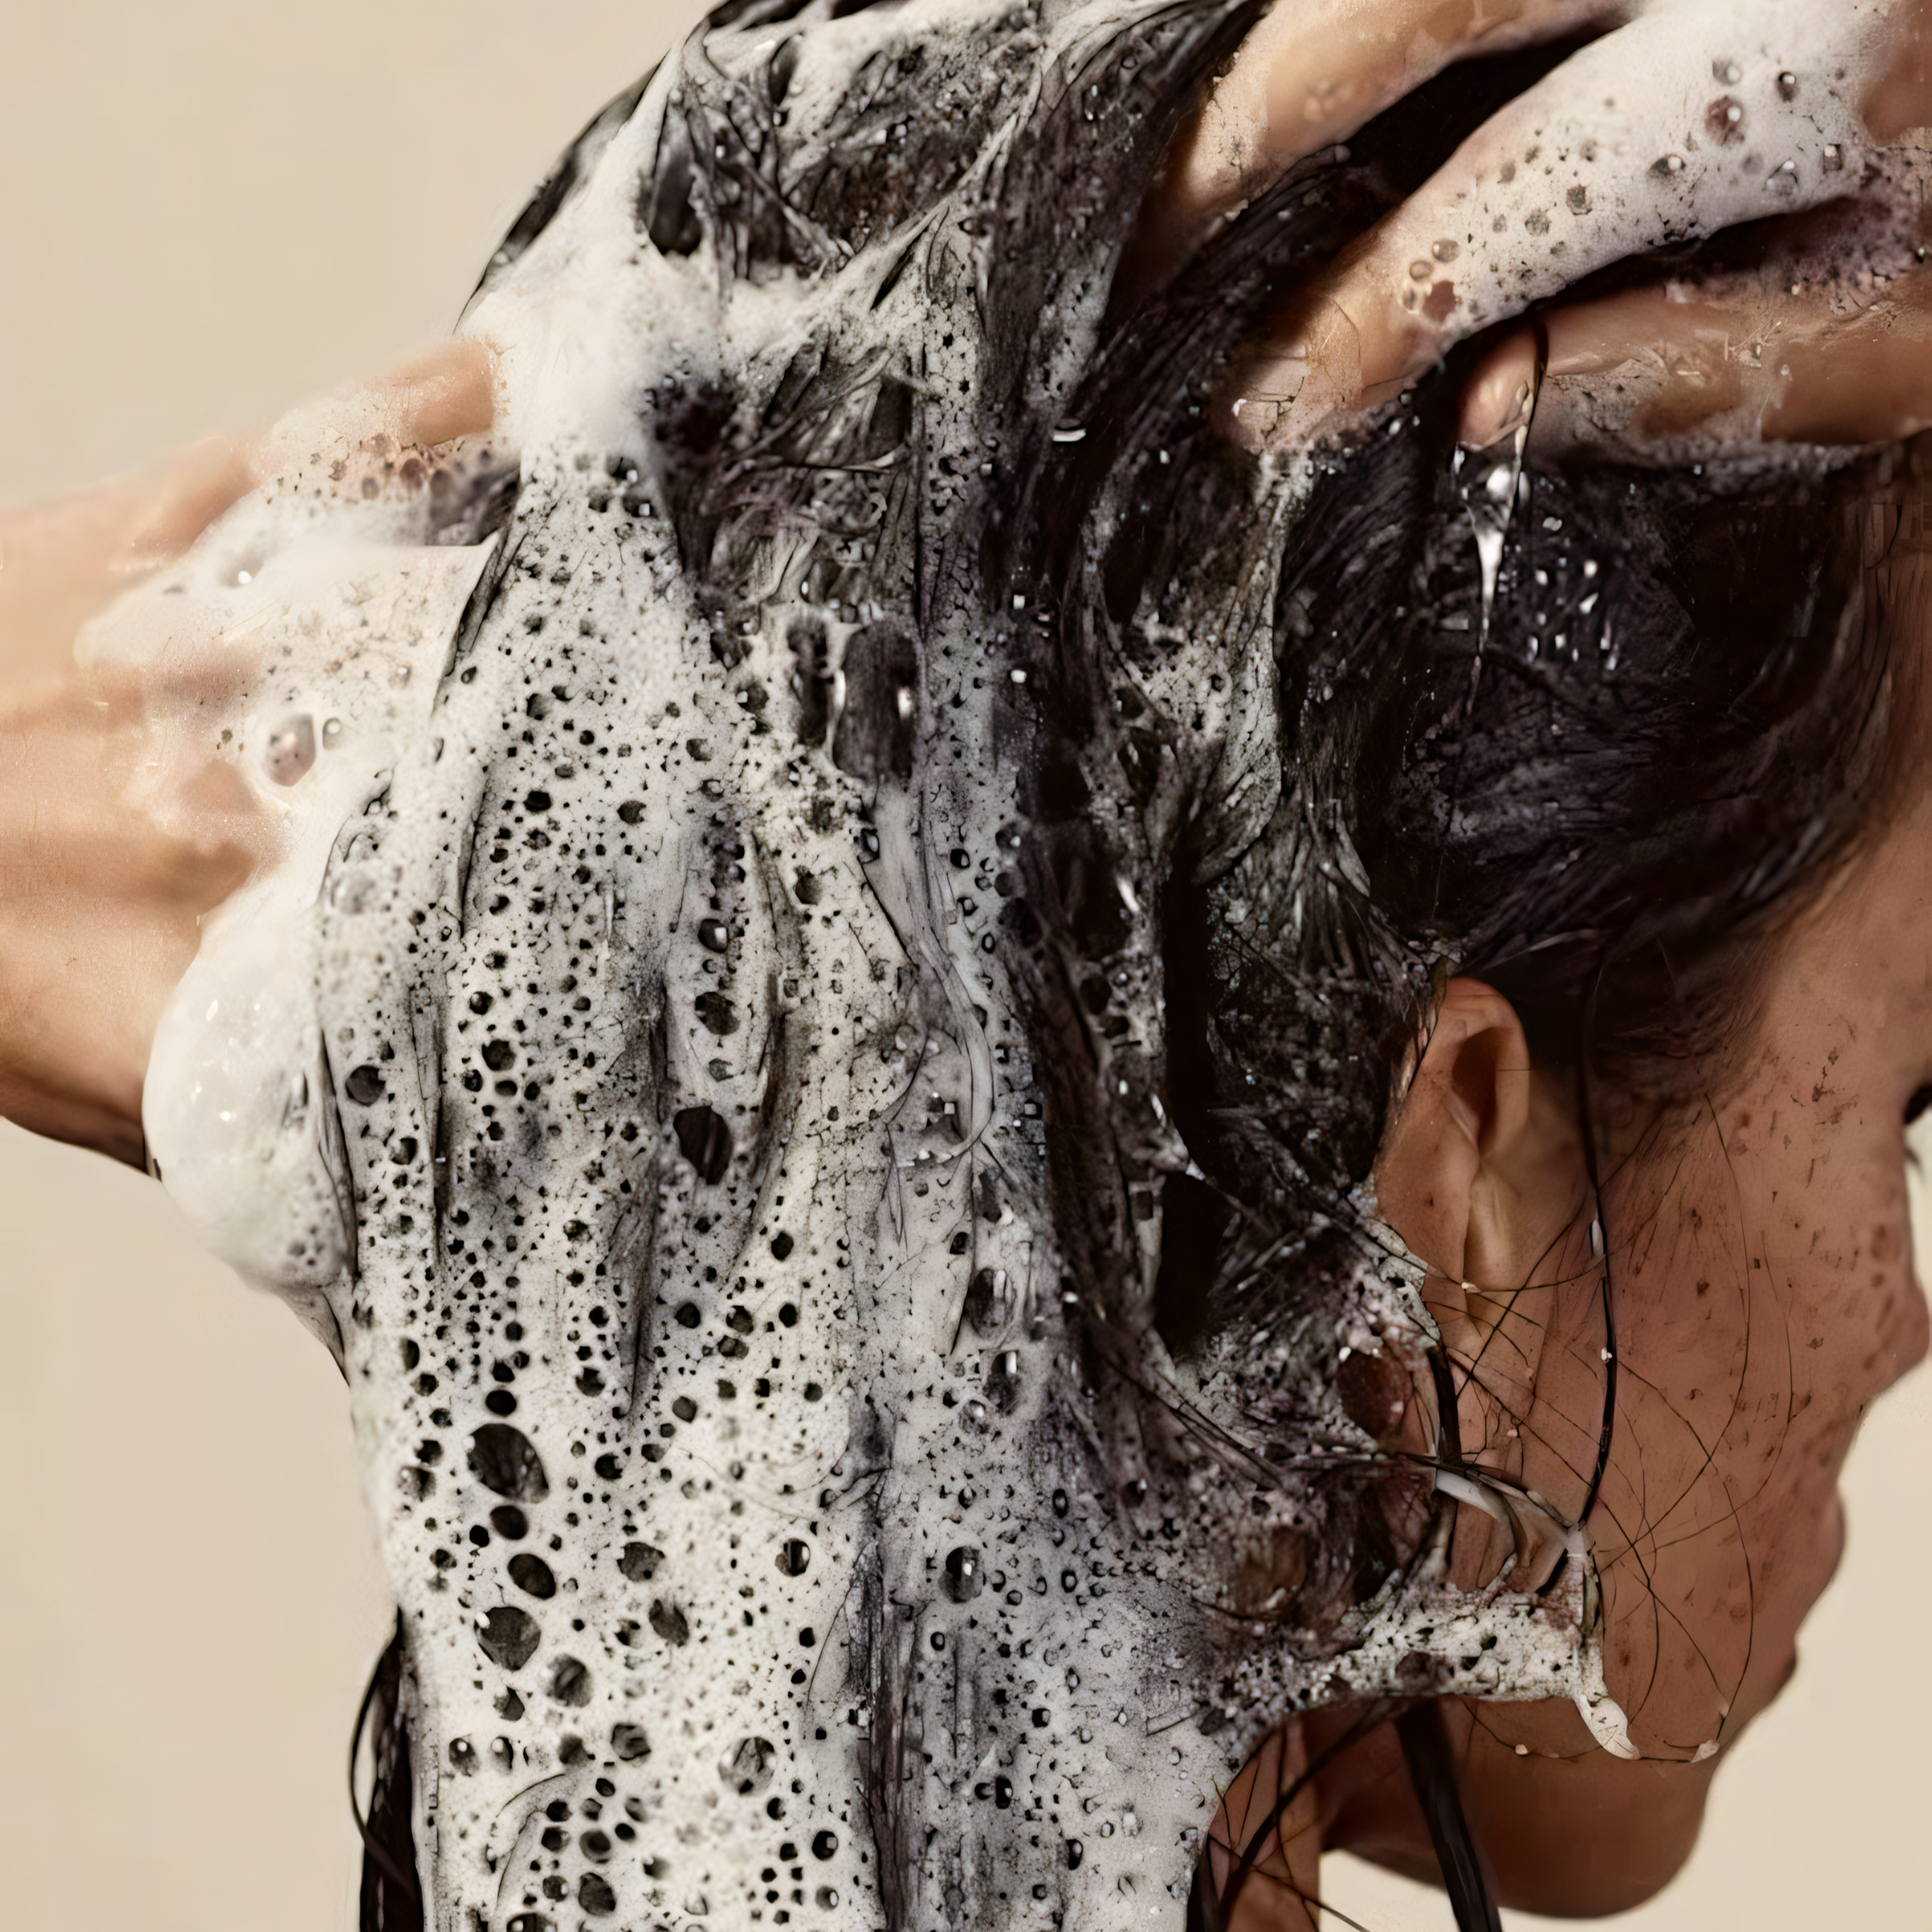
Timing, Rinsing, and Post-Treatment Care
Timing is everything! Most glosses recommend leaving the product on for around 20–30 minutes, but always follow the label instructions for your chosen formula.
Here’s a quick rundown:
|
Step |
What to Do |
|---|---|
|
Wait |
Set a timer and relax for 20–30 min |
|
Rinse |
Use warm (not hot) water to rinse |
|
Condition |
Apply a deep conditioner afterwards |
|
Dry and Style |
Pat dry gently and style as usual |
-
Be thorough when rinsing. You want all the gloss out before conditioning.
-
A rich conditioner afterward helps seal in moisture and amplify your new shine.
If you’re looking for more tips and tricks, especially about whether glossing or glazing is best for your hair, the comparison between hair gloss and glaze breaks down the benefits and can help you decide on your next step.
Your first at-home gloss probably won’t be 100% perfect, but the fun is in the process—and shiny, refreshed hair is always a win!
Maximizing Shine and Results from Your Gloss
Getting a true salon gloss look at home takes a little effort but pays off. For the glossiest possible results, keep these tips in mind:
-
Always apply your hair gloss on clean, towel-dried hair – this lets the product adhere evenly.
-
Consider using a heat cap or even a warm towel while the gloss is processing to help the product settle in better.
-
After you rinse, use a smoothing, color-safe conditioner to seal in that extra shine; avoiding sulfates makes a difference too (color-safe shampoo and conditioner).
-
Don't rush—leaving the gloss on for the recommended time matters if you want even, vibrant results.
If your hair still looks a bit dull after glossing, try turning down the water temperature during your final rinse. Cool water helps close the cuticle and boosts shine without extra products.
Combining Gloss with Deep Conditioning
A lot of people don't realize this, but pairing your glossing treatment with a deep conditioner can make a huge difference—especially if your hair's been through a lot. Here's a quick routine:
-
Gloss your hair as directed, rinse well.
-
Towel-dry, then add your favorite deep conditioner.
-
Let it sit for 10-15 minutes, then rinse with lukewarm (not hot) water.
This extra moisture step leaves strands softer and shinier while helping lock in the gloss’s glow.
How Often to Repeat Your Treatment
It’s tempting, but you really shouldn’t gloss your hair every week. Overdoing it leads to buildup or dryness, and won’t give better shine. Most people find every 4 to 6 weeks is just right, though touch-ups on particularly faded areas are fine in between. Here’s a quick reference table:
|
Hair Type |
Gloss Frequency |
|---|---|
|
Color-treated hair |
Every 4 weeks |
|
Natural hair |
Every 5-6 weeks |
|
Dry or damaged hair |
Every 6 weeks |
Consistency keeps that healthy glow going without overloading your hair.
Every head of hair acts a little differently, so listen to what yours needs and don’t be afraid to tweak your routine if you notice dullness or dryness returning sooner than expected.
Caring for Your Hair After a Gloss Treatment
Keeping that shine from your at-home gloss treatment isn’t hard, but a few simple steps make a big difference. The right post-gloss care will preserve your results, protect your strands, and help you stretch out those weeks of mirror-perfect shine.
Protecting Shine Between Treatments
-
Avoid washing your hair too often. Every time you wash, some of that gloss slowly comes out. Aim for 2-3 washes per week if you can manage it.
-
Stick to lukewarm or cool water. Hot water can strip color and shine faster.
-
Use gentle, sulfate-free shampoos to help your gloss last longer and keep hair looking fresh.
-
Wear a hat or use a UV spray if you’re outside, since sunlight can break down glossy pigments.
Water, sun, and harsh shampoo are your hair gloss’s worst enemies after treatment—cutting down on these will help you keep your hair looking shiny, softer, and less frizzy until your next gloss.
Recommended Maintenance Products
Choosing the right products for after your gloss will make a big difference in how long your shiny hair lasts. Ideally, go for items made specifically for color-treated hair.
|
Product Type |
What It Does |
|---|---|
|
Sulfate-free shampoo |
Cleans gently, protects gloss |
|
Moisturizing conditioner |
Adds softness, keeps dryness away |
|
Leave-in treatment/serum |
Seals cuticle, enhances shine |
|
UV protectant spray |
Defends against sun fading |
Common Mistakes and How to Avoid Them
-
Overwashing: Too much shampooing fades gloss fast.
-
Swimming in chlorinated pools: Chlorine can break down gloss quickly. Use a swim cap or rinse hair right after swimming.
-
Using clarifying shampoos: These strip color and shine—save them for before your next gloss.
-
Applying heavy oils or masks right after your gloss: Wait a few washes, as these can sometimes dull the shine or cause build-up.
Smart aftercare is what keeps your hair looking like it just left the salon. Follow these practical steps and enjoy that salon-glossy finish for weeks instead of days.
Who Can Benefit Most from At‑Home Hair Gloss Treatment
A lot of people wonder if an at-home gloss treatment is suited for them, and honestly, most hair types can benefit from the right glossing product. Whether you’re sporting natural hair or a color-treated mane, glossing offers shine and a smoother look without a full trip to the salon. Let’s break things down further.
Color-Treated Versus Natural Hair
If you dye your hair—even occasionally—gloss can help a lot. It’s like a mini-refresh, making color look more even and vibrant until your next salon visit. Natural hair won’t be left out, though; clear glosses can pump up shine and help control dullness without changing your shade at all. In general, consider glossing if:
-
You want to extend the life of your hair color
-
Your hair’s looking a bit too matte or faded (colored or not)
-
You’re hoping for a soft, reflective finish
|
Hair Type |
Benefit from Gloss |
Best Gloss Option |
|---|---|---|
|
Color-Treated |
High |
Tinted or Clear |
|
Natural, Virgin |
Moderate to High |
Clear |
|
Bleached/Lightened |
Very High |
Conditioning Tinted |
Solutions for Frizz, Dullness, and Dryness
Frizz, flatness, and dry texture are big reasons people gloss at home. Most glosses work by smoothing your hair’s top layer, which not only adds shine but also helps fight humidity. Here’s what a gloss might help with:
-
Smoothing down rough cuticles to minimize frizz
-
Boosting shine if your hair naturally looks dull
-
Providing lightweight moisture without heaviness
If you’ve been frustrated by your hair looking tired or frizzy, a gloss can add that missing touch of softness and glow, without changing your hair’s structure or causing buildup.
Glossing for Different Hair Textures and Types
Gloss treatments aren’t just for one hair type. In fact, almost every texture can see some benefit. Consider this:
-
Straight hair: Enhanced glass-like shine, softness, and a sleeker finish
-
Wavy or curly hair: Defined, less frizzy curls with better light reflection
-
Coarse or thick hair: More manageability and smoother styling
Shine from a gloss is universally flattering—just adjust the gloss type and how often you apply it to fit your hair’s uniqueness.
A quick reminder: Always do a patch test before applying any new product just to keep things safe.
Addressing Concerns and Troubleshooting
When you start using hair gloss treatments at home, some questions and hiccups are bound to come up. It’s normal to feel a bit unsure, especially if this is your first try. Below you’ll find answers and tips for the most common issues, along with some advice for when things just aren’t going as planned.
Patch Testing and Ingredient Safety
Before you go all in with your hair gloss, doing a patch test matters—no one wants an unexpected reaction. Here’s a quick way to stay safe:
-
Apply a small amount of the gloss to the inside of your elbow or behind your ear.
-
Wait at least 24 hours to check for redness, itchiness, or swelling.
-
If your skin stays calm, you’re good to go.
If you have allergies or sensitive skin, check for potential irritants in the ingredients list. When in doubt, look for glosses labeled as hypoallergenic or consult with your doctor.
If you skip patch testing, you risk a reaction that’s much harder to solve afterward than just waiting an extra day upfront.
What to Do If Results Disappoint
Sometimes the result doesn’t match your expectations: maybe your hair still looks dull, or the shade isn’t quite right. Here’s what you can do:
-
Shampoo your hair a couple of times to remove excess gloss if your hair looks too dark or brassy.
-
Use a deep-conditioning mask if your hair feels dry or rough.
-
Try a clarifying shampoo after a few days for stubborn buildup, but don’t overuse it.
-
If you didn’t get enough shine, make sure your hair was clean and free from product before glossing next time.
When to Consult a Professional
Sometimes, things are out of your hands, and it’s best to call in someone with experience. Here are a few situations where reaching out to a pro is the way to go:
-
You notice severe scalp irritation, burning, or persistent itching.
-
The color is drastically wrong, especially if you used a tinted gloss.
-
Your hair feels gummy, overly dry, or starts breaking off.
-
You’re unsure about the right product for your hair type, especially with chemical-treated or very fine hair.
If this is you, take a break from treatments and see a stylist. They’ll help you figure out your next steps with less risk of damage.
|
Common Troubles |
Quick Fix |
|---|---|
|
Patchy color |
Reapply gloss to missed sections |
|
Dull after gloss |
Rinse thoroughly and follow with conditioner |
|
Scalp discomfort |
Rinse out, use soothing scalp treatment |
It’s normal to have questions—stay curious and don’t be afraid to ask for help if you need it. A little patience and the right steps can keep your hair shiny and healthy at home.
Wrapping Up: Shiny Hair at Home Is Totally Doable
So, there you have it—getting that shiny, healthy look you see after a salon visit isn’t out of reach. With a little patience and the right hair gloss, you can boost your hair’s shine and keep your color looking fresh, all from your own bathroom. The process is pretty simple once you get the hang of it, and it’s a lot less stressful than trying to dye your hair. Plus, it’s way more affordable than regular salon trips. Just remember to follow the instructions on your chosen gloss, take your time with the application, and don’t skip the deep conditioner at the end. Your hair will thank you with that extra bit of shine. If you mess up a little, don’t worry—it’s not permanent, and you’ll get better each time. Happy glossing!
Frequently Asked Questions
What does a hair gloss treatment do for my hair?
A hair gloss treatment adds shine to your hair, making it look healthier and brighter. It can also help smooth frizz, add moisture, and even out your hair color. Some glosses are clear, while others have a little color to boost your natural shade or refresh dyed hair.
How long will the shine from an at-home hair gloss last?
Most at-home hair gloss treatments last about 2 to 4 weeks. The shine might fade faster if you wash your hair often or use harsh shampoos. Using color-safe or sulfate-free shampoo can help your gloss last longer.
Is at-home hair gloss safe for all hair types?
Yes, most hair gloss products are safe for all hair types, including curly, straight, wavy, and coily hair. Just make sure to read the instructions and do a patch test first to check for any allergies or reactions.
What’s the difference between a hair gloss and a hair dye?
Hair gloss is different from hair dye because it doesn’t change your hair color as much or as permanently. Gloss adds shine and can slightly adjust your tone, but it washes out over time. Dye changes your hair color more deeply and lasts longer.
Can I use a hair gloss on hair that’s never been colored?
Yes! You can use a hair gloss on natural, uncolored hair. It will make your hair shinier and can help with dryness or dullness. If you use a tinted gloss, it might add a soft hint of color, so pick a shade close to your natural hair.
How often should I do an at-home hair gloss treatment?
It’s usually best to gloss your hair every 4 to 6 weeks. This keeps your hair shiny without causing too much buildup. If your hair starts to look dull before then, you can do it a bit sooner, but don't overdo it.
Read more

Discover why non‑aerosol dry shampoo is the eco-friendly, effective haircare choice for 2025 and beyond.
Discover how to create a personalized haircare routine tailored to your unique hair type and needs.
Leave a comment
All comments are moderated before being published.
This site is protected by hCaptcha and the hCaptcha Privacy Policy and Terms of Service apply.